The task of replacing a garage door spring, a vital component in the operation of your garage door, can seem daunting at first glance. This intricate process involves an understanding of the mechanics of tension, the right tools, and precise execution. It is essential for maintaining the smooth functionality and safety of your garage door system. A faulty or broken spring not only impedes your garage door’s performance but can also pose serious safety risks.
Therefore, it becomes critical to grasp the fundamentals of garage door spring replacement. While this task is often best left to professionals, a basic comprehension of the process can help homeowners identify problems sooner and communicate more effectively with repair professionals.
As we proceed, we will further dissect this task, providing a detailed look into the signs of spring failure, the steps for a safe replacement, and the importance of regular maintenance.
Identifying Garage Door Spring Issues
Often, homeowners may overlook the critical role of garage door springs, until they encounter issues such as difficulty in opening or closing the garage door, which are typically indicative of a potential spring malfunction. These springs, integral to the operation of your garage door, are under constant tension, making them susceptible to wear and tear.
Signs of a faulty spring may include a heavy door, irregular movement, loud noise, or the door not staying up when lifted. It’s important to recognize these signs early to avoid further damage or potential safety risks.
Engaging a professional to assess and replace worn-out springs is strongly recommended, given the technical expertise and precise calibration required in handling such components.
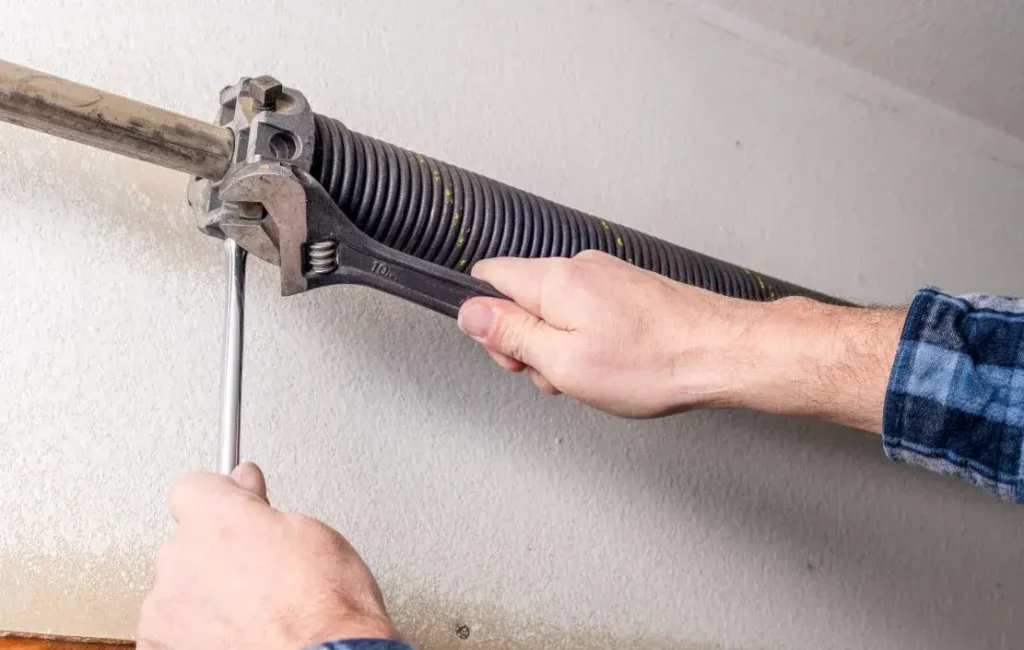
Steps for Safe Spring Replacement
To replace a garage door spring safely and effectively, it is paramount to follow a structured process, encompassing the meticulous examination of the garage door, careful removal of the old spring, and the precise installation of the new one.
Here are three crucial steps to follow:
1. Inspection of the Garage Door: Assess the state of the garage door and identify the type of spring system it uses. This step ensures the correct replacement spring is purchased and installed.
2. Removal of the Old Spring: Use the appropriate tools and follow safety guidelines to prevent injury. Always remember to secure the garage door before starting this process.
3. Installation of the New Spring: Carefully attach the new spring, ensuring it is correctly aligned and fitted. Once installed, perform a final check to ensure proper functioning.