
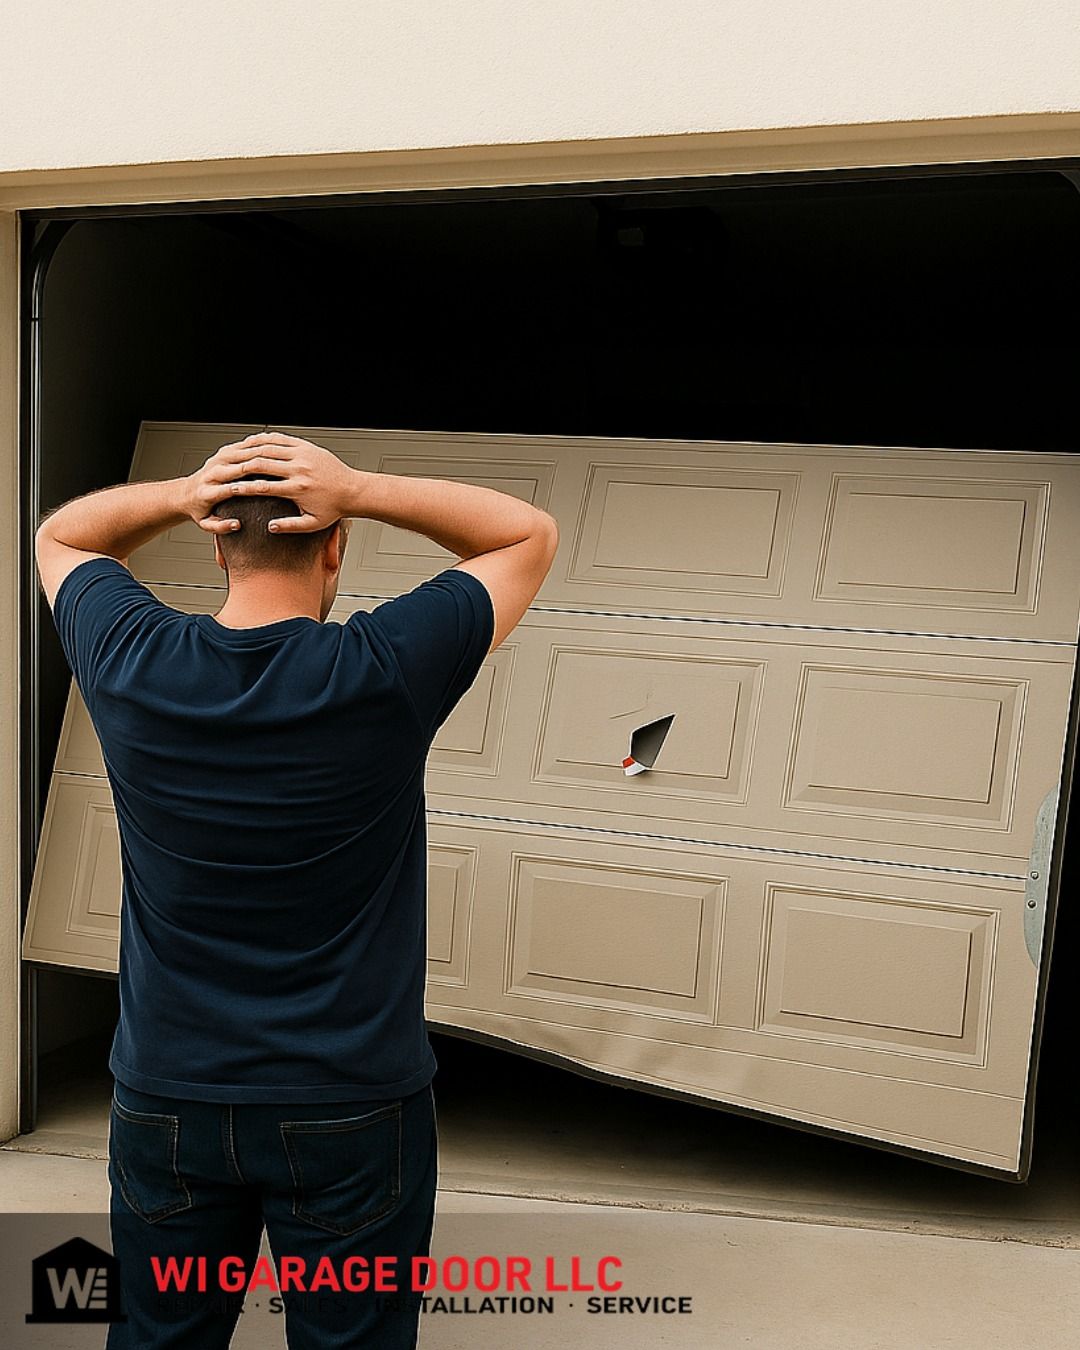
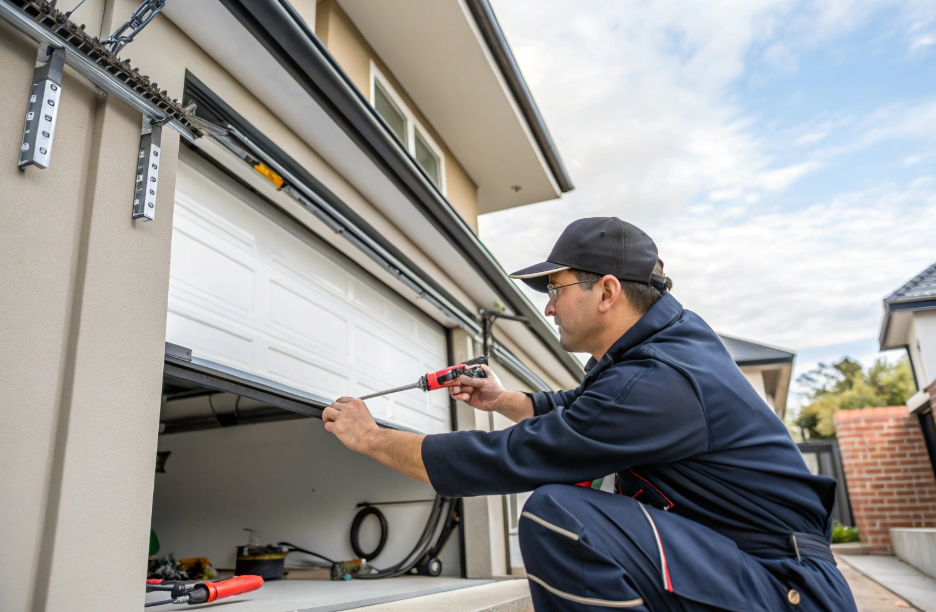
Essential questions to ask garage door repair De Pere technicians. Learn about experience, licensing, warranties, and emergency service options.
Learn how Wi-Fi and belt-drive garage door systems are transforming Green Bay homes with smart technology, enhanced security, and quiet operation for modern living.
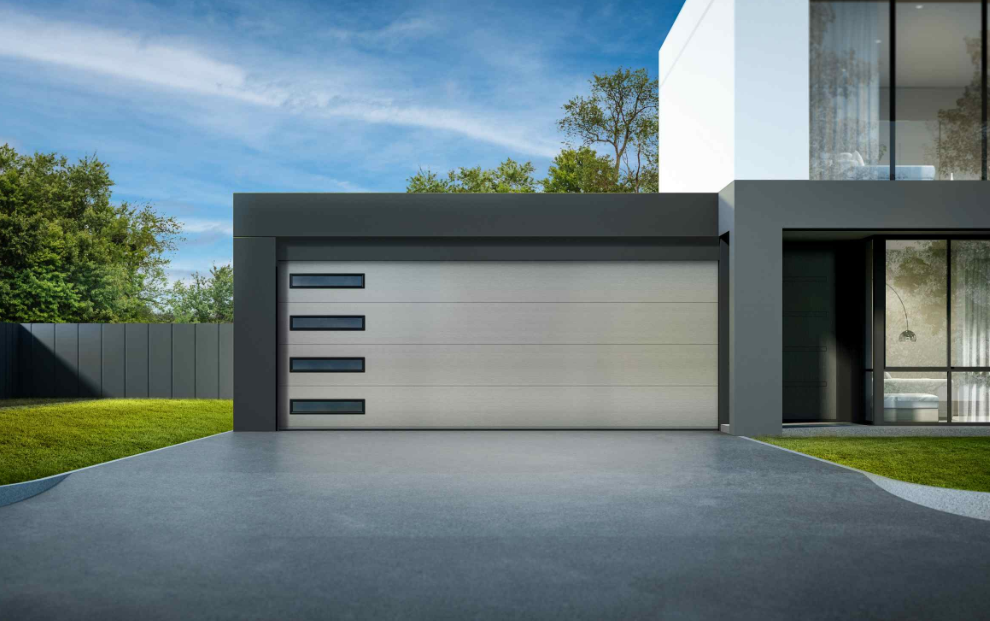
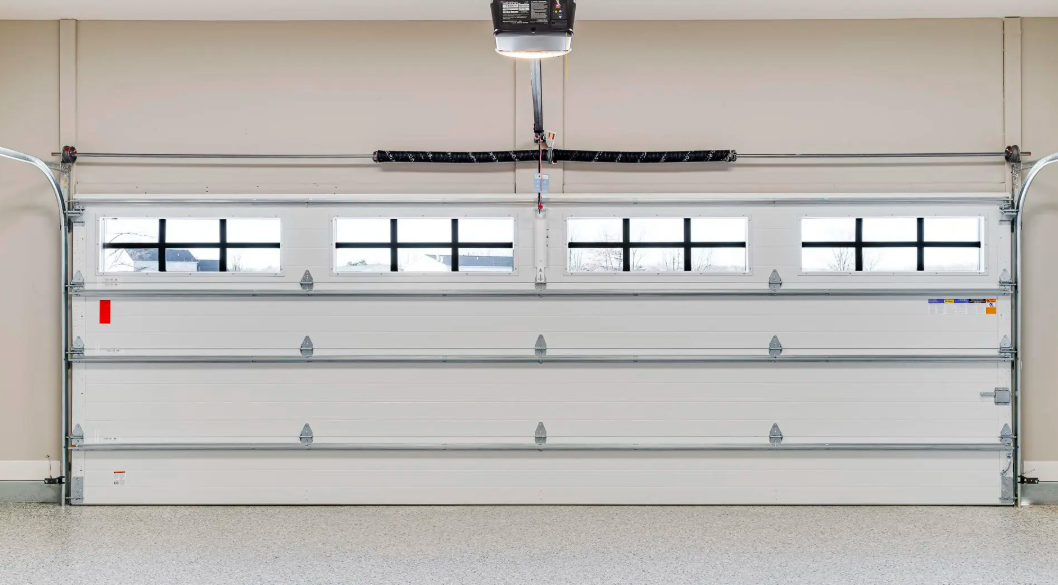
Discover why belt-drive Wi-Fi openers are the smart choice for Green Bay homes. Learn about quiet operation, smart integration, and security features.
Essential questions to ask garage door repair De Pere technicians. Learn about experience, licensing, warranties, and emergency service options.
Learn how Wi-Fi and belt-drive garage door systems are transforming Green Bay homes with smart technology, enhanced security, and quiet operation for modern living.
Discover why belt-drive Wi-Fi openers are the smart choice for Green Bay homes. Learn about quiet operation, smart integration, and security features.
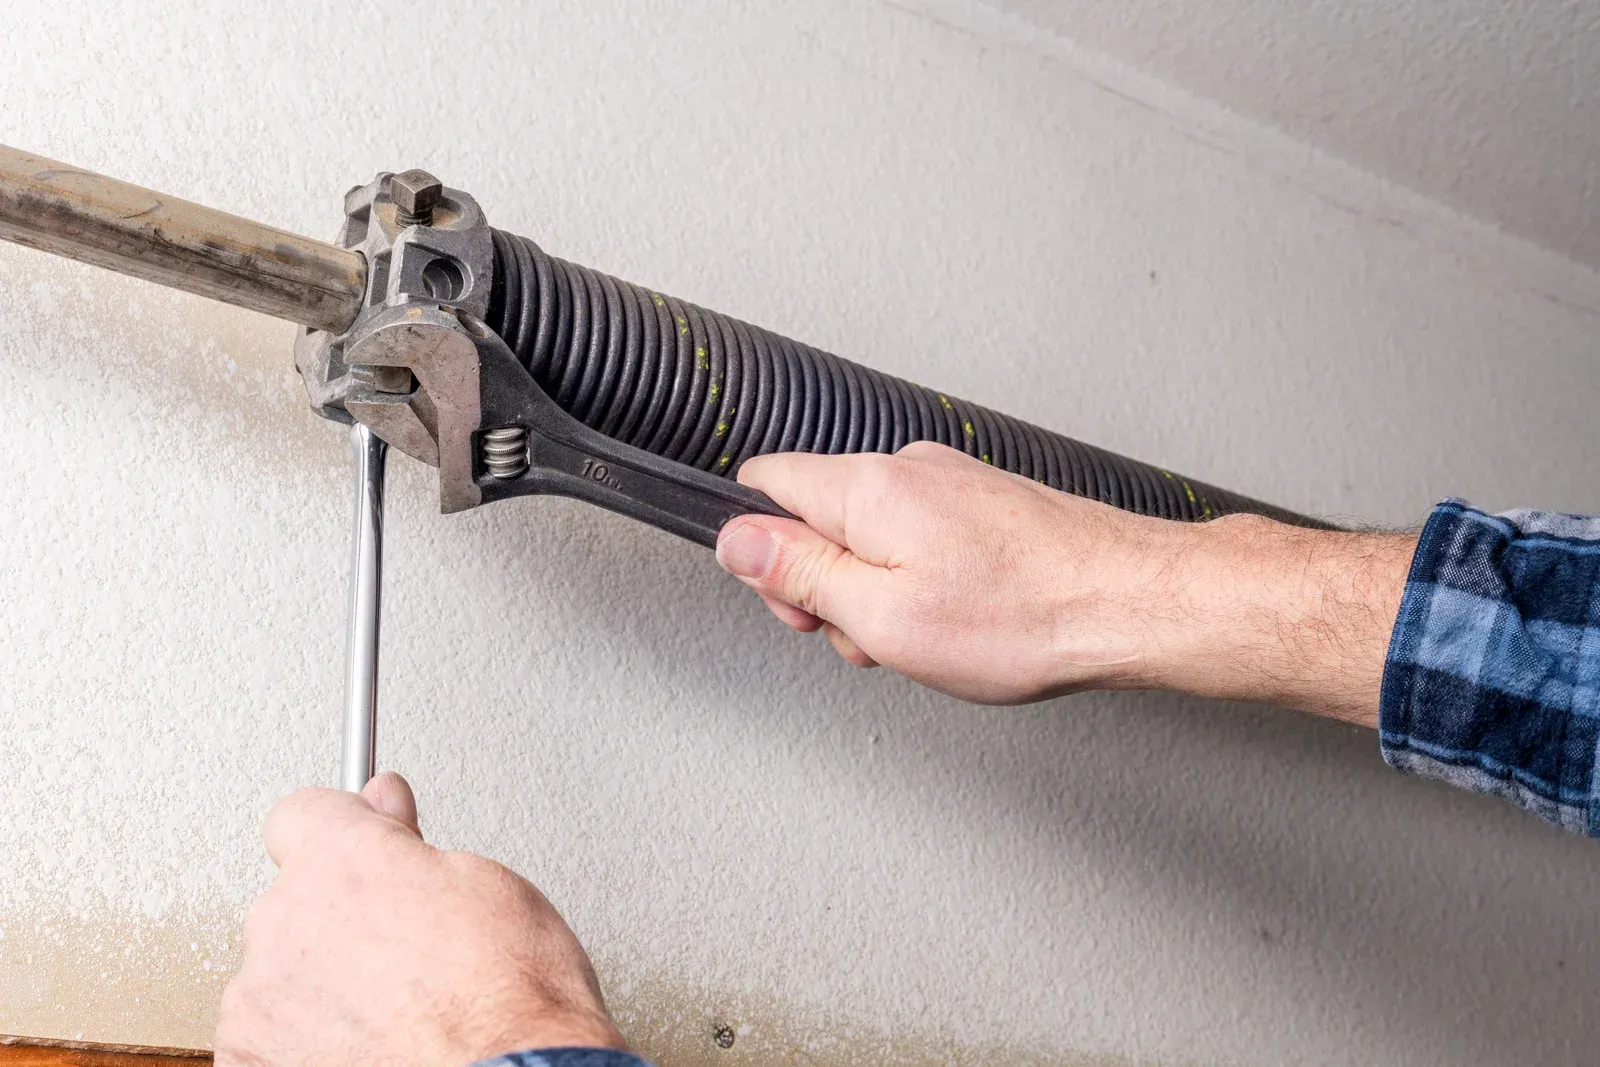
Learn how garage door springs work to counterbalance your door's weight, reducing strain on the opener and extending system lifespan with proper maintenance.