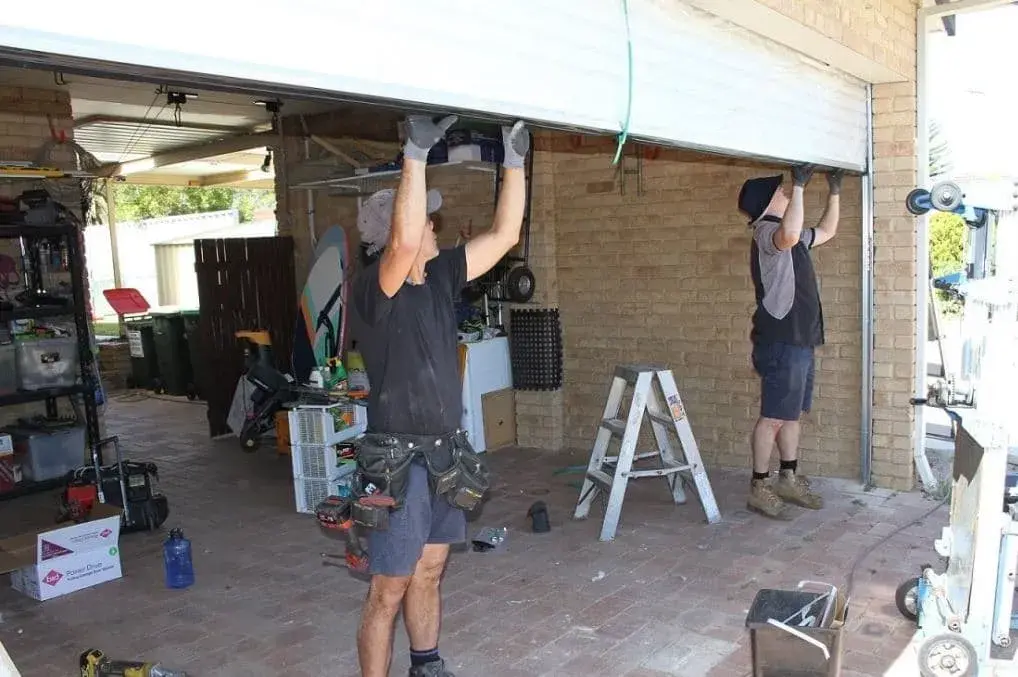
In the realm of home maintenance, the functionality of the garage door often remains overlooked until a malfunction occurs. A critical component that ensures the smooth operation of the garage door repair is the garage door cable. If you’ve noticed your garage door behaving erratically, the culprit may well be a worn-out or broken cable.
It’s a common issue that many homeowners face, but the good news is, with a bit of knowledge and the right tools, cable replacement can be a straightforward process. Nevertheless, it is crucial to understand the intricacies involved in this task to ensure safe and effective execution.
This discussion will provide expert tips on garage door repair, focusing on cable replacement, to equip you with the necessary skills for this DIY task. Stay tuned to learn more about how you can tackle this seemingly daunting task with ease and confidence.
Understanding Garage Door Cables
To fully grasp the intricacies of garage door repair, it’s essential to delve into the role and function of garage door cables, a critical component often overlooked.
These cables, typically fashioned from high-strength steel, serve the crucial function of tensioning and balancing the garage door’s weight. By doing so, they ensure the smooth and safe operation of the door, preventing it from falling or slamming shut.
However, over time, these cables may fray, loosen, or snap due to wear and tear, necessitating prompt repair or replacement. Understanding their function and recognizing the signs of damage is the first step towards efficient garage door maintenance.
As part of our community of garage door enthusiasts, your knowledge in this area contributes to everyone’s safety and security.
Step-by-Step Cable Replacement Guide
Having understood the significance of garage door cables and the potential issues that may arise, we can now explore a comprehensive guide on how to replace these vital components.
1. Preparation:
First, ensure you have the necessary tools including a winding bar, wrenches, and a new cable. Safety should be your top priority, so wear proper protective gear.
2. Unwind the Old Cable:
Carefully release the tension on the springs using the winding bar, then unwind the cable.
3. Remove the Old Cable:
Disconnect the cable from the bottom bracket and drum.
4. Install the New Cable:
Attach the new cable to the bottom bracket, then wind it around the drum and tension the spring.