


Garage Door Repair
Always get the best torsion & extension springs. WI Garage Door Repair Service has an array of premium quality springs appropriate for your garage door.
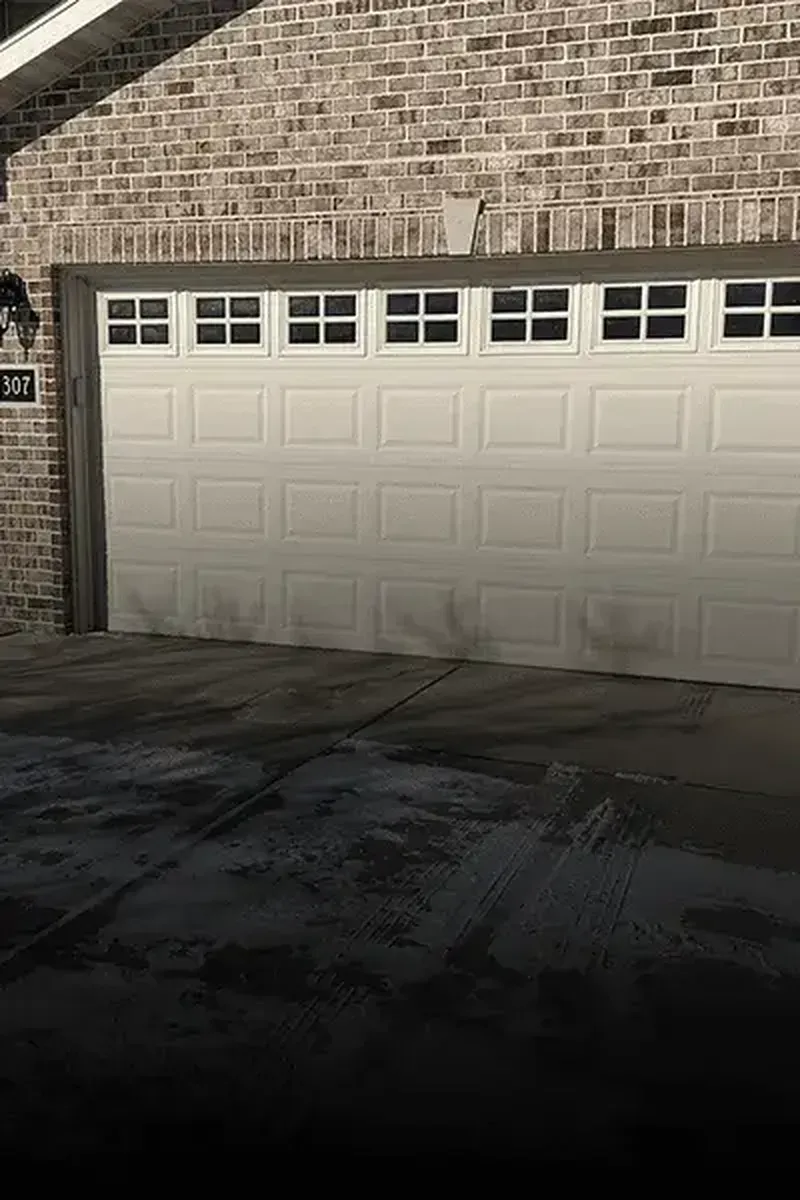
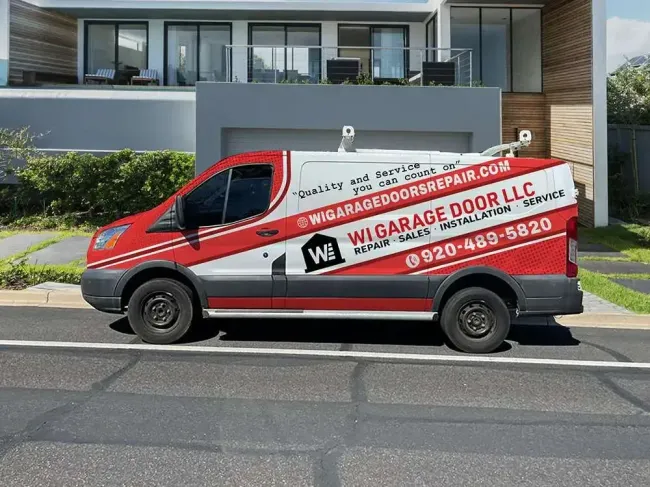
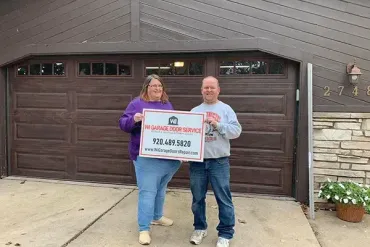
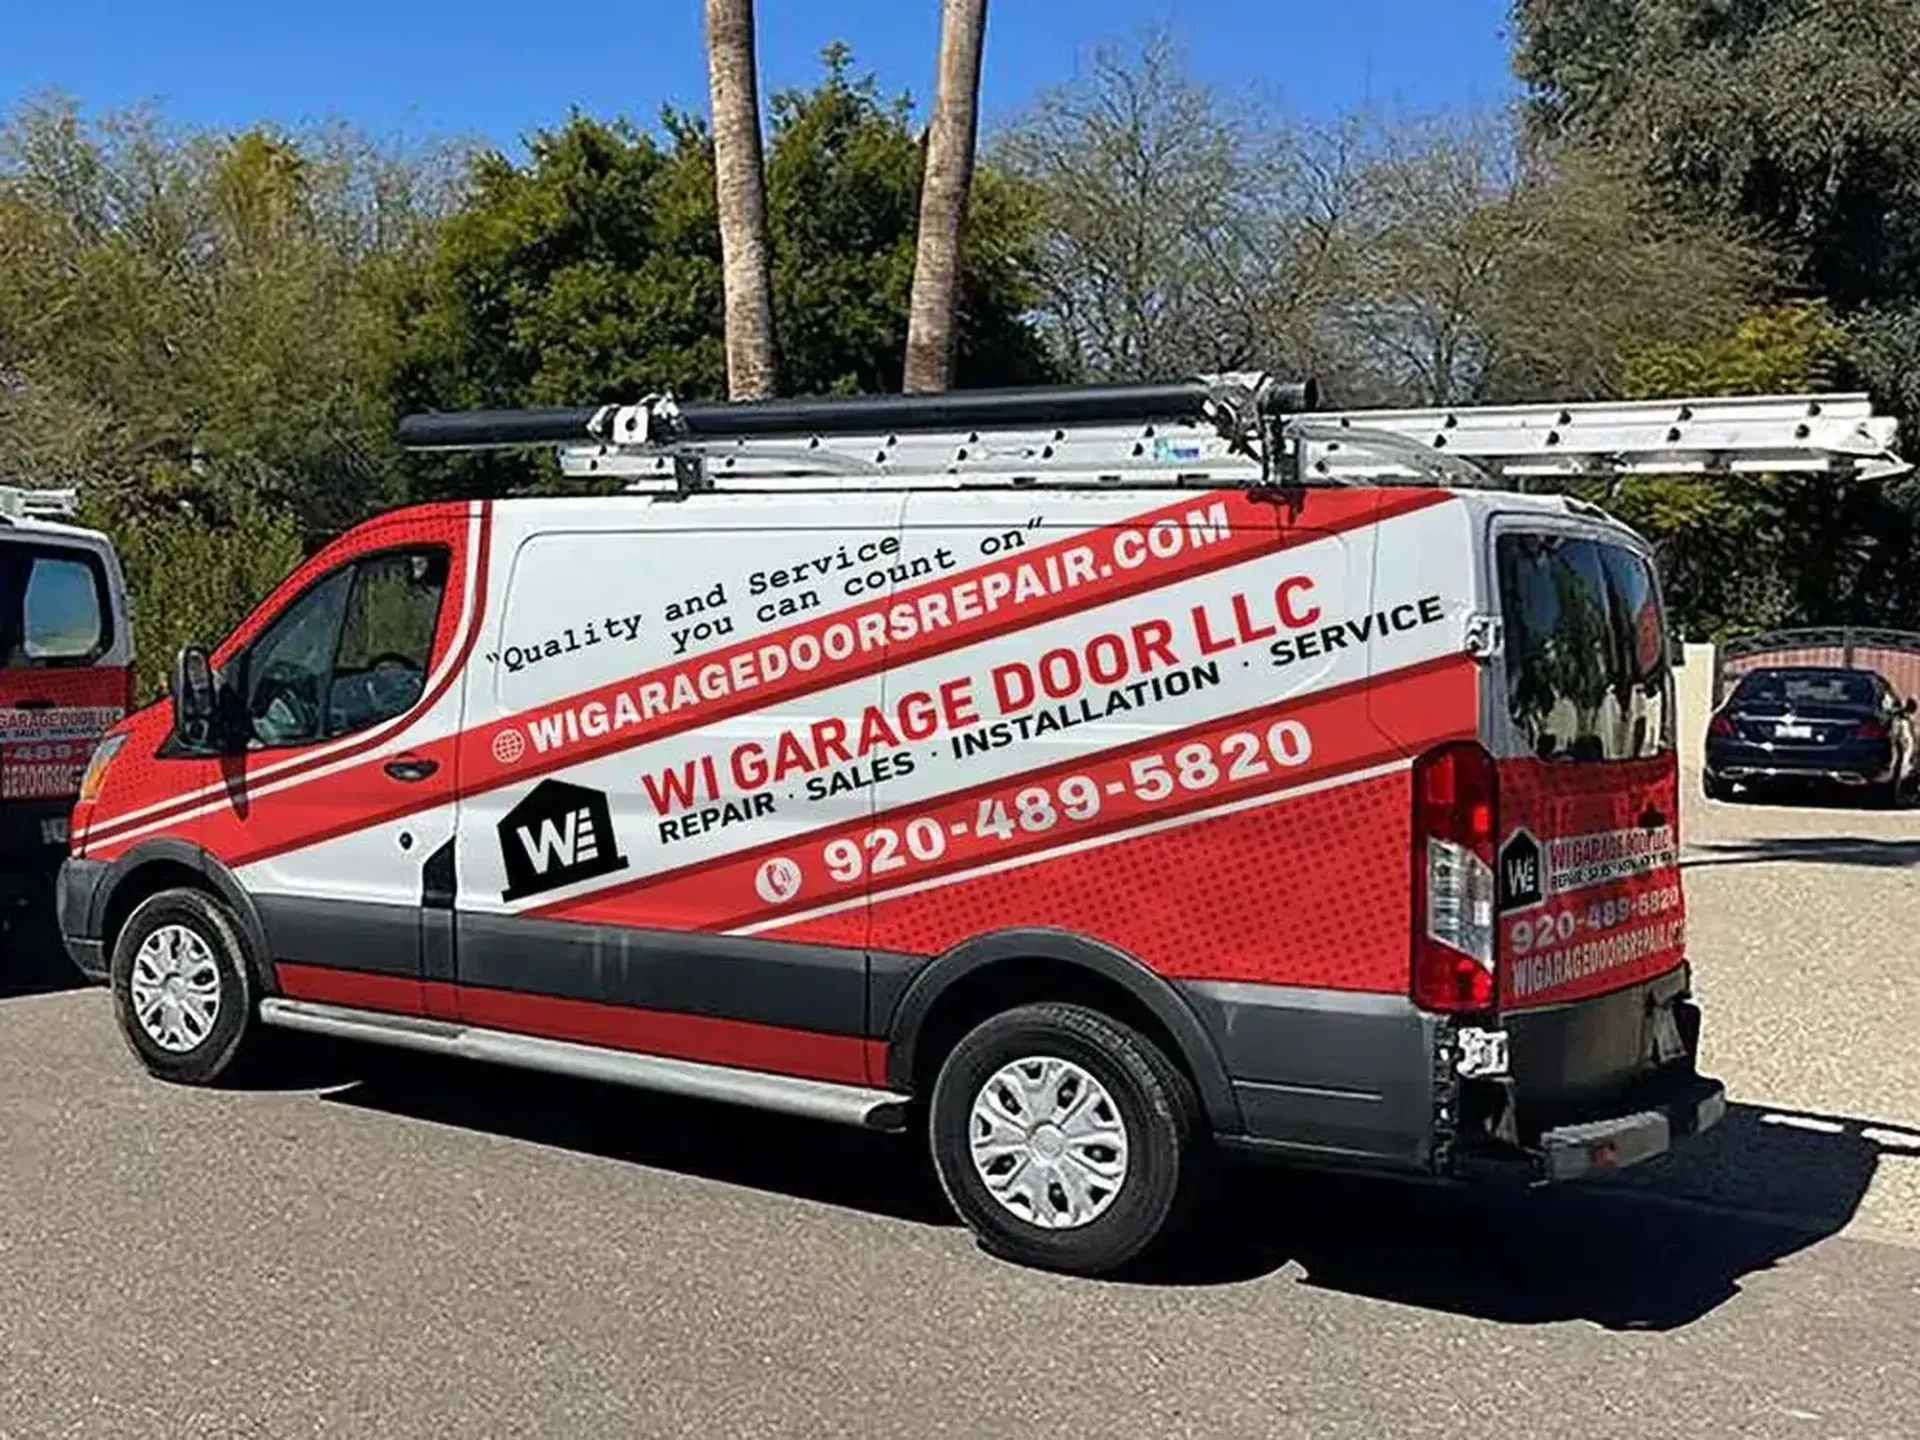
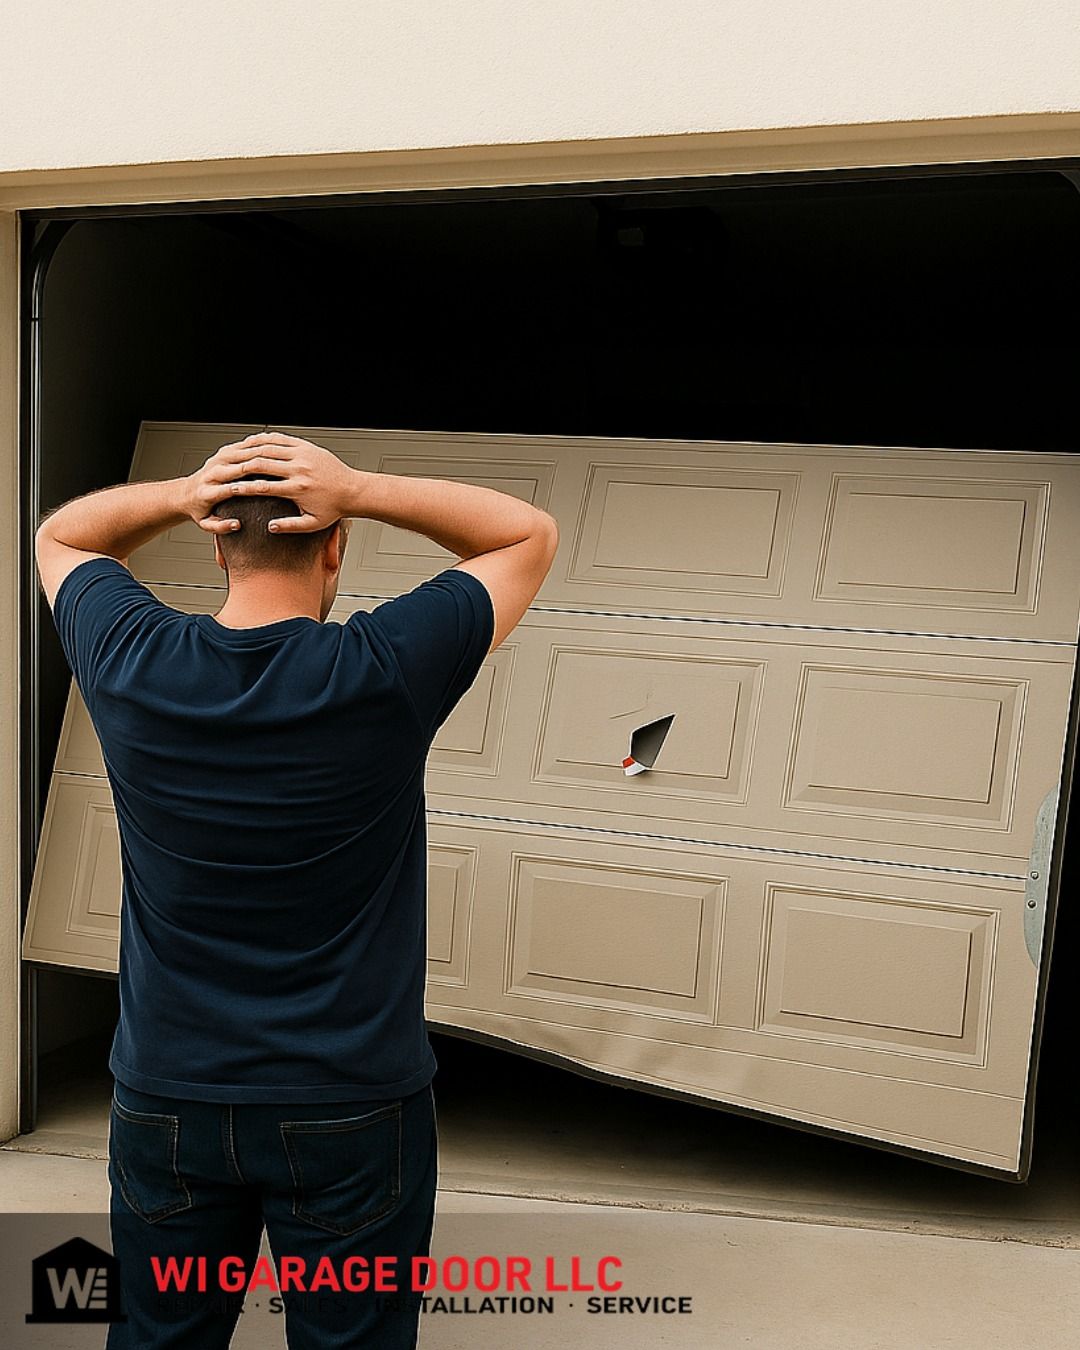
Crashed Door Service
Get your broken or damaged door fixed in no time! The WI Garage Door LLC is the best option if you need help with fixing a creaky gate. Our expert team will come out and fix it fast!
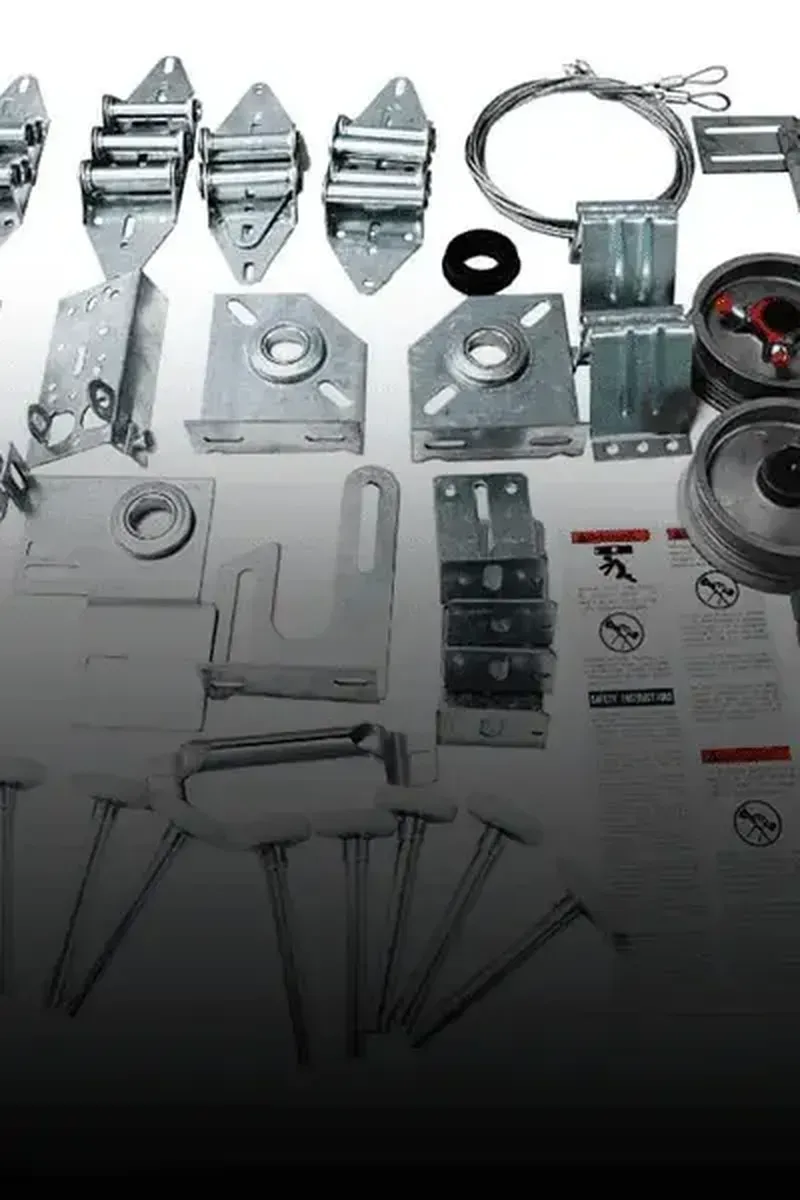
Garage Door Springs
Always get the best torsion & extension springs. WI Garage Door Repair Service has an array of premium quality springs appropriate for your garage door.

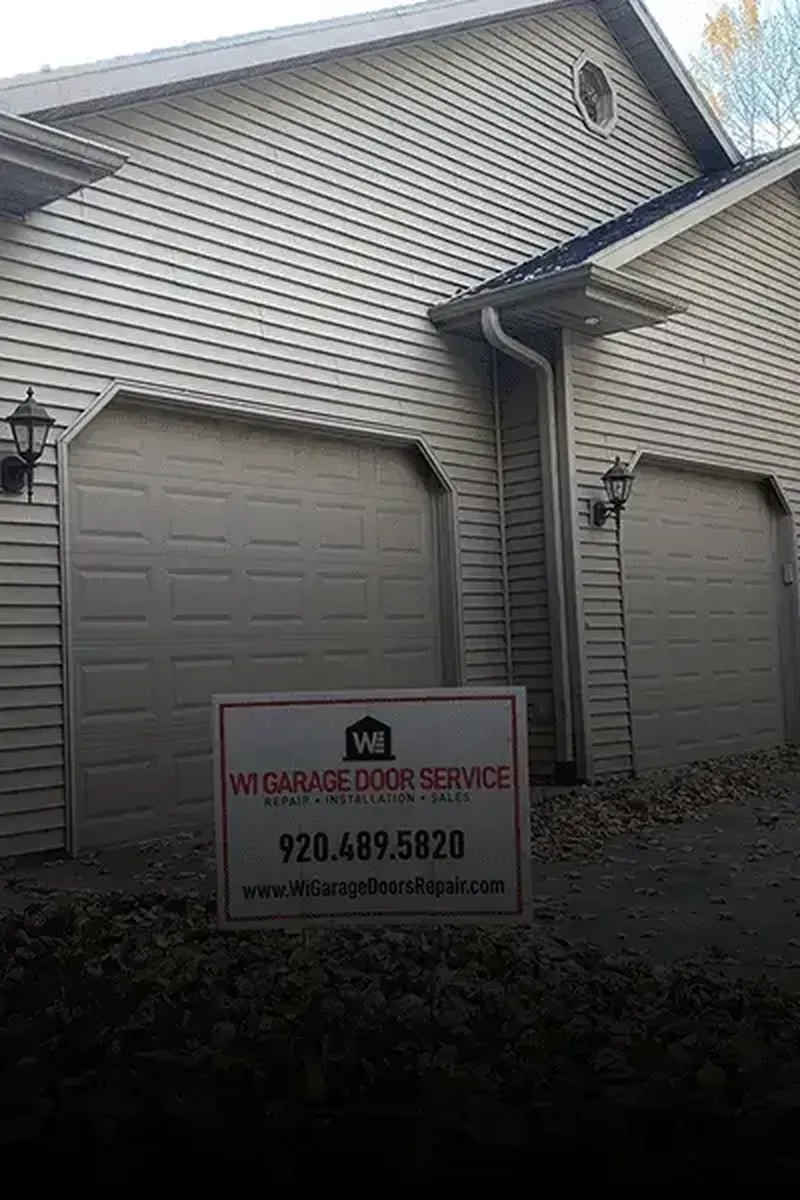
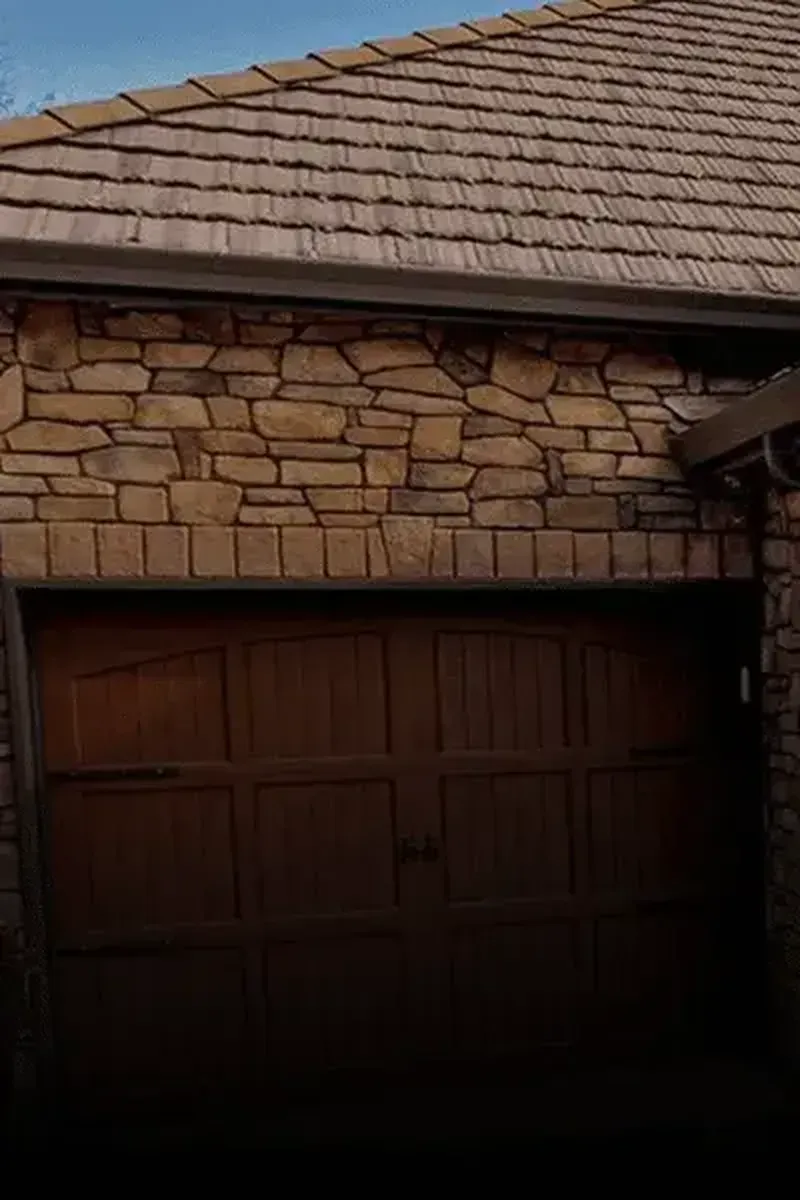
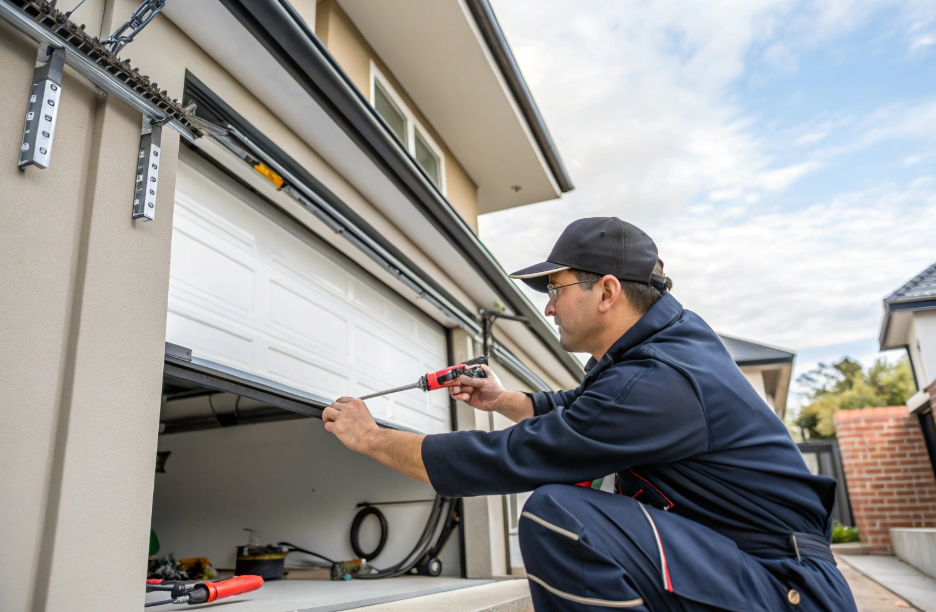
Weather Seals
Our specialists will install a brand new garage door weather seal which will keep rats, rain and dust away from your garage for good. It’s simply a matter of calling WI Garage Door Repair Service.
Essential questions to ask garage door repair De Pere technicians. Learn about experience, licensing, warranties, and emergency service options.
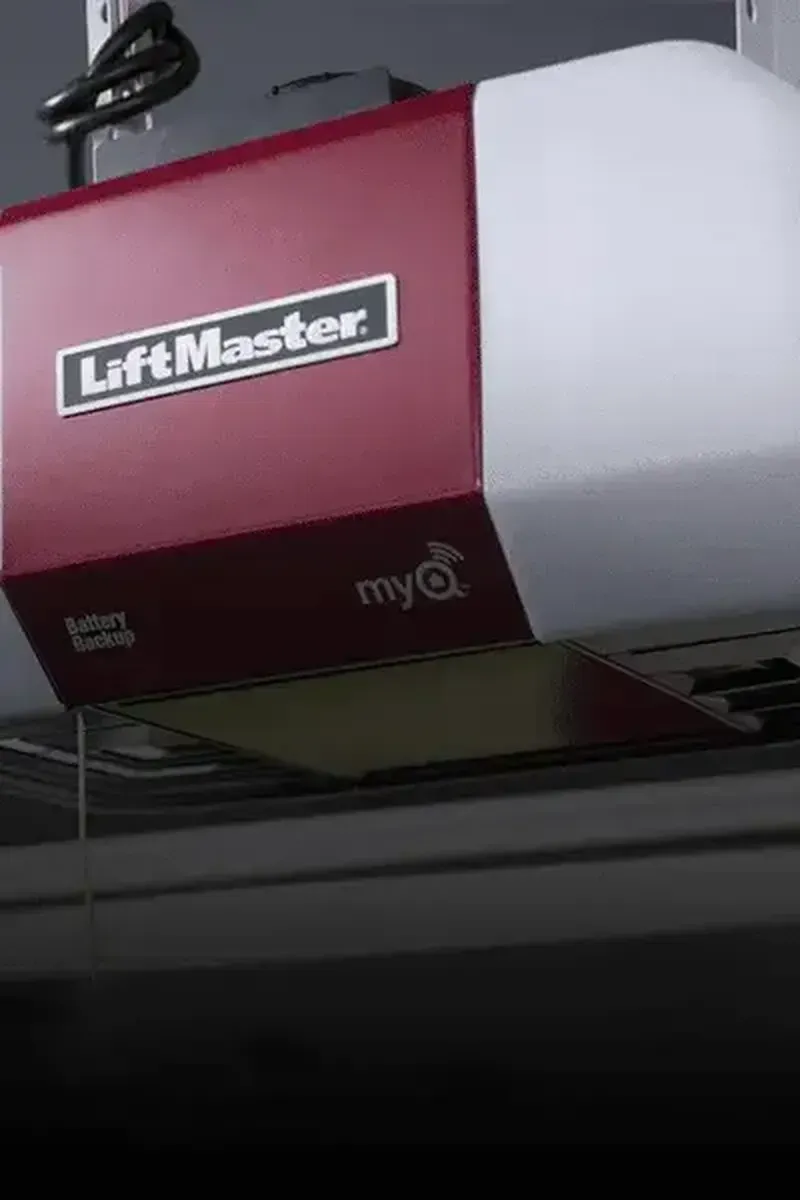
Learn how Wi-Fi and belt-drive garage door systems are transforming Green Bay homes with smart technology, enhanced security, and quiet operation for modern living.
Discover why belt-drive Wi-Fi openers are the smart choice for Green Bay homes. Learn about quiet operation, smart integration, and security features.
